
How to Style Hair with a Straightener
Styling hair with a straightener can mean much more than just making it flat. With the right preparation, good tools with adjustable heat, and a few simple hand movements, you can create everything from pin-straight “glass hair” to soft Hollywood waves. By learning the “clamp, twist, and glide” method, one hot tool can act as a multi-use styler that adds texture, volume, and shine while still caring for your hair over time.
Whether you’ve been styling for years or you’re just starting, it helps to think of a straightener as a heated styling wand. The result doesn’t only come from the heat level; it also comes from how you move the tool through your hair. The angle of your wrist, the direction you turn the plates, and how fast you move all change the final look. Small changes give very different results, which is why a straightener is often the most useful styling tool in any Australian bathroom.
What to Know Before Styling Hair with a Straightener
What Are the Benefits and Limits of Straightener Styling?
The biggest advantage of a straightener is how many styles it can create. Modern irons do far more than smooth the hair. Many are made to create waves, curls, and flicked ends as well. Because the tool has two heated plates that press the hair from both sides, it often gives better heat contact than a curling wand, which can mean shinier, smoother curls that last longer with less frizz. It acts like two tools in one, saving both space and money.
There are limits, though. Using a straightener well takes a bit more hand control than automated curlers or hot brushes. Poor technique can leave dents, “crimped” lines, or uneven texture. Also, never use a straightener on wet hair. Very high heat on wet strands can make the water inside the hair shaft boil, which can cause serious, permanent damage. Knowing where to stop helps you get a smooth result without harming your hair.
Does Using a Straightener Damage Hair?
Any heat styling can cause some damage if you don’t handle it carefully. Very high heat can dry out the cuticle and make hair break more easily. However, newer tools are much kinder to hair than older ones. Some advanced straighteners offer features like “Revive Mode” with gentle vibration to reduce friction and pulling, helping the plates slide through more softly.
To keep your hair in good condition, use tools with adjustable temperature. Different hair types need different heat levels; using the hottest setting on fine or already damaged hair can be very harsh. Modern ceramic plates, sometimes mixed with minerals like Sericite, spread the heat more evenly and help prevent extreme hot spots that can burn the hair.
What to Put on Hair Before and After Straightening
Good prep is the base of any style. Before you plug in your straightener, spray on a generous amount of heat protectant. Products like “Magical Quick Dry Potion” help shield hair from high heat, speed up drying, and keep it hydrated. This step is a must every time, no matter how low your temperature setting is.
Once you finish styling, switch your focus to shine and hold. Smooth a pea-sized amount of light serum or leave-in treatment through the mid-lengths and ends to calm flyaways and add a healthy glow. If your hair tends to frizz, a light-hold hairspray or texture spray can help your style last without making it feel sticky or stiff.
Choosing the Right Hair Straightener for Your Hair Type
Plate Materials: Ceramic, Titanium, Tourmaline
The plate material affects how the heat reaches your hair. Ceramic is a favourite for many people because it spreads heat evenly and helps reduce the risk of damage from hot or cold patches on the plate. When ceramic is mixed with certain minerals, it can also help cut down on static and frizz, leaving hair smoother after each pass.
Titanium plates heat up very quickly and can reach higher temperatures, which can suit very thick or coarse hair that needs more power. Tourmaline is often added to ceramic plates to increase negative ions, which help close the cuticle and add extra shine. Choose your plate type based on how strong your hair is and the kind of finish you want.
Size, Shape and Heat Settings
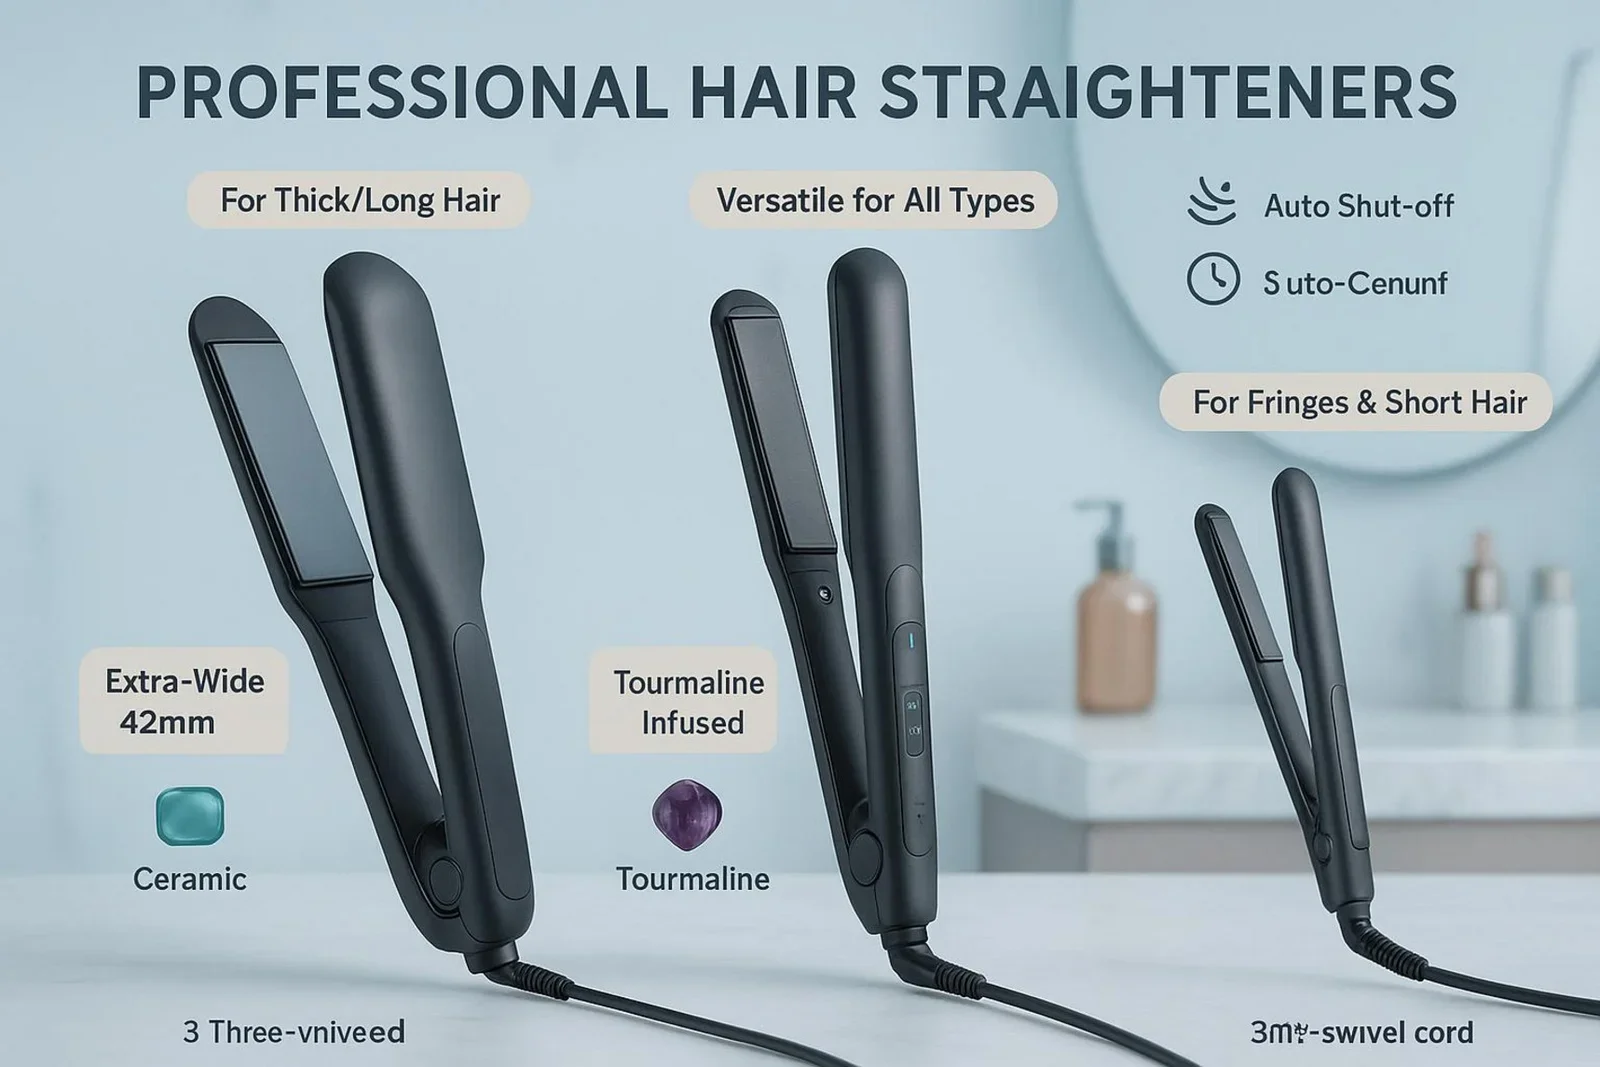
The shape and size of the straightener matter just as much as the material. A 1-inch iron with rounded edges is often seen as the most flexible option because you can curl, wave, and straighten with it. Wider plates are helpful for long or very thick hair, since they cover more hair at once and shorten the time your strands are under heat. Slim or “mini” irons work well for short hair, fringes, and precise styling close to the root.
Adjustable heat settings are one of the most important features. Your iron should let you turn the temperature up or down based on your hair’s condition and type. If your straightener only has an on/off switch, you can’t protect fragile or fine hair from too much heat.
Recommendations for Fine, Thick, Curly, or Damaged Hair
For fine or damaged hair, keep your temperature under 150°C. This hair type is easier to harm with heat, so a gentle setting is safer. Thick, coarse, or coily hair usually needs more heat, around 190°C to 220°C, to get a smooth result in one pass.
Curly (Type 3) and coily (Type 4) hair often works well with wider plates that handle larger sections. Always blow-dry it straight first to create a smooth base before you start pressing with the iron. For short cuts or detail work around the face or fringe, use a mini iron with 0.5-inch plates so you can style close to the scalp without burning yourself.
Best Practices for Hair Preparation
Washing and Drying Tips
A style that lasts starts in the shower. Use a moisturising shampoo and conditioner so your hair begins the process well hydrated. After washing, make sure your hair is 100% dry before straightening. If you’re in a rush, use a good-quality hairdryer with a concentrator nozzle and point the airflow from roots to ends. This helps lay the cuticle flat and makes later straightening easier.
If your hair is wavy or curly, blow-drying with a round brush can “pre-straighten” your hair. That way, you don’t need as much heat or as many passes with the iron. Many stylists love this two-step drying and smoothing method to get a polished, salon-style result.
Heat Protection Products
Always use heat protectant. It forms a barrier between your hair and the hot plates. You can buy it as sprays, creams, or oils. For fine hair, stick to a light spray so your hair doesn’t look heavy or greasy. For thick, coarse, or dry hair, a cream or richer formula can offer more moisture and protection. Comb the product through so it covers every strand from root to tip.
Brushing, Detangling and Sectioning
Before adding heat, your hair should be completely tangle-free. While your hair is damp, use a wide-tooth comb or a brush made for wet hair to remove knots gently. Once dry, divide your hair into sections. Most people will need four to six sections, depending on how thick their hair is, and can hold them in place with clips.
Work with small sections about 1-2 inches wide. This helps the heat reach each hair evenly and means you won’t have to go over the same piece again and again, which is a common way to cause damage. Taking your time with sectioning at the start protects your hair and makes the styling process smoother.
How to Straighten Hair Safely and Effectively
Correct Technique for Sleek, Lasting Results
For smooth, shiny hair, place the straightener close to the roots without touching the scalp. Close the plates firmly but gently and glide the iron down to the ends in one steady motion. Try not to stop mid-section, as this can leave lines or hot marks in the hair.
If you keep needing several passes to get hair straight, your sections might be too big or your heat too low. Aim to straighten each section once whenever possible. Using a fine-tooth comb just ahead of the straightener, moving down together, keeps the strands aligned and gives a neat, salon-style finish.
Controlling Frizz and Flyaways
Frizz often comes from dryness or moisture in the air. You can help prevent it by finishing your wash with a cool water rinse to help the cuticle lie flat. After styling, use a tiny amount of finishing serum or a product like “Magical Remedy” to smooth stubborn flyaways. If your hair frizzes while you sleep, switching to a silk pillowcase can cut down friction and help your style last into the next day.
Mistakes That Lead to Heat Damage
A common mistake is straightening hair that’s still a bit damp. If you hear a sizzling sound, stop. That sound means water is turning into steam inside the hair shaft. Another mistake is choosing a heat setting that is too high for your hair type. Just because your iron can reach 230°C doesn’t mean your hair should ever be exposed to that level. Also avoid pressing the plates together too hard, as this can pull and weaken the hair.
How to Create Different Hairstyles with a Straightener
Straight and Sleek
For classic straight hair, work from the bottom layers up. Take your time and move the straightener slowly and smoothly down each section. With long hair, you can lay finished sections over one shoulder to keep everything neat and give a tidy, polished look. This style suits all lengths and makes a simple base for clips, headbands, or other accessories.
Glass Hair Finish
“Glass hair” is about very high shine and smooth, sharp ends with no frizz. To get this look, run a comb down the hair while following closely behind with the straightener. This lines up every strand before the heat sets it. When you’ve finished, use a shine serum or glossing spray to give a reflective, mirror-like glow.
Loose Waves with a Straightener
To create loose waves, clamp the iron at about eye level, turn it half a turn (180 degrees) away from your face, and then glide slowly down the hair. A slower movement creates a more defined wave; a faster glide gives a softer bend. For that relaxed, “undone” feel, leave the last centimetre or two at the ends straight. This makes the style look more modern and relaxed.

S-Waves and Beach Waves
Beach waves can be made by changing the direction of the iron as you move down the hair or by using a “push-and-pull” motion. First bend the hair into a “C” shape with the straightener, then move down and bend it in the opposite “C” direction to form an “S”. Another method is to braid your hair into two large plaits and run the straightener over each braid a few times. Once the braids are cool and you loosen them, you’ll have soft, beachy texture.
Defined and Tight Curls
For tighter curls, rotate the iron a full 360 degrees. Treat it like a curling wand by wrapping the hair around the plates and pulling down slowly. To help curls last longer, catch each warm curl in your hand, roll it back up to your head, and clip it in place until it cools. This helps the curl shape “set” so it holds all day.
Flicked and Flipped Ends
Flicked ends add a fun, retro feel to bobs and shoulder-length styles. When you get to the ends of the section, twist your wrist up for an outward flick, or twist it in toward your chin to tuck the ends under for a softer, polished shape. This small movement adds movement and personality to straight hair.
Styling Bangs and Face-Framing Pieces with a Straightener
Smooth and Sleek Fringe
Bangs or a fringe need gentle handling. A mini iron can help you control the hair more easily. Take the fringe as one section and run the iron over it quickly in one smooth motion, tilting the plates slightly down toward your nose. Often, one pass is enough; going over the hair too many times can make your fringe look flat or oily.
Curved and Layered Fringe
For a softer or “curtain bang” look, turn the straightener slightly under as you reach the ends of the fringe. This creates a light curve that frames your face. With face-framing layers, use the same motion but bend the hair away from your face. This opens up your features and gives a gentle, flattering shape.
Ways to Boost Volume and Body Using a Straightener
Root Lift with a Straightener
If your hair lies flat at the roots, your straightener can help add height. Take a small section at the crown, place the iron near the roots, and pull the hair straight up toward the ceiling before gliding down. This movement gives lift at the base and makes the whole style look fuller.
Turning Under and Out for Movement
To add shape through the mid-lengths, start each section with a small half-turn of the straightener near the root, then continue straightening as normal. This creates a gentle “bump” like a salon blow-dry, instead of very flat hair. You can switch the direction of these bends in different sections to make a fuller, textured look.
Finishing Touches: Setting Styles for All-Day Hold
Products to Lock in Style and Shine
When your style looks how you want it, finish with products that hold it in place. A medium-hold hairspray works well for curls and waves because it supports the shape while still letting the hair move. For a sleek style, use a shine spray or light anti-humidity mist to protect your hair from moisture in the air. If your hair is fine, a dry texture spray can add grip so your style doesn’t drop flat.
Tips for Long-Lasting Straightener Hairstyles
Let your hair cool completely before you comb or touch it too much. Handling warm hair can cause curls to fall and straight styles to frizz. If you’ve curled your hair, wait at least five to ten minutes before loosening the curls with your fingers. Also, hair that was washed the day before often holds styles better than freshly washed hair because natural oils give it extra grip.
How to Care for Hair and Tools After Straightening
Cooling Down and Brushing Out
Once you’re done, place your straightener on a heat-proof mat and leave it to cool. When your hair is fully cool, use a dressing brush or wide-tooth comb to gently separate curls into softer waves. This gives a relaxed, natural look instead of tight ringlets.
Cleaning and Maintaining Your Straightener
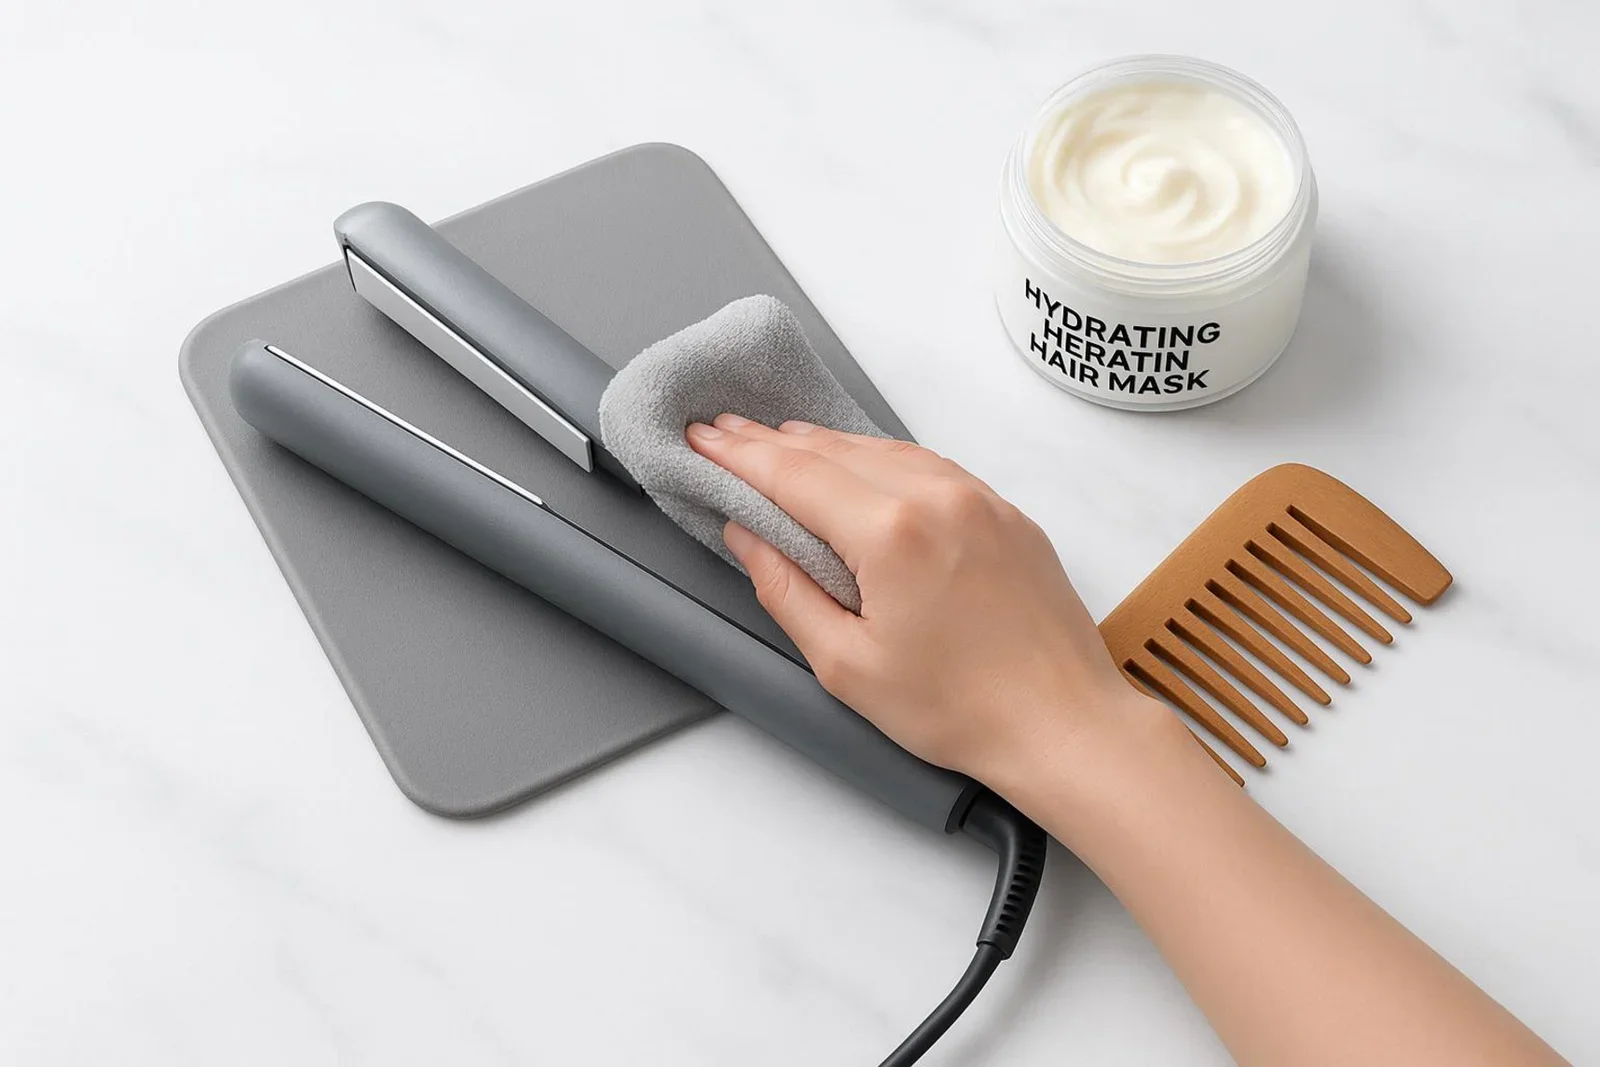
Over time, products like heat protectant, serums, and hairspray can leave residue on the plates, which can cause catching and uneven glide. To avoid this, wait until the tool is totally cold, then wipe the plates with a soft, slightly damp cloth. Avoid harsh cleaners or rough sponges, as they can scratch the coating. Regular care keeps the plates smooth and helps your straightener perform well for longer.
Repair and Hydration for Heat-Styled Hair
If you straighten often, your hair will need extra moisture and repair. Use a deep-conditioning mask or treatment once a week to restore hydration. Look for ingredients like argan, jojoba, or coconut oil, which help smooth and repair the cuticle. Regular trims every six to eight weeks help remove split ends before they move up the hair, keeping your style looking fresh and healthy.
Common Questions About Styling Hair with a Straightener
Can I Use a Straightener on Wet Hair?
No. Using a straightener on wet hair is one of the most damaging things you can do. When you press 200°C plates onto wet strands, the water inside turns to steam instantly. That steam expands and breaks through the outer layer of the hair, leading to “bubble hair” and severe breakage. Always dry your hair completely before styling.
How Often Should I Use a Straightener?
Even with modern tools, your hair needs breaks from high heat. Try to limit heat styling to two or three times a week. On other days, let your natural texture show or use no-heat methods like braids, twists, or silk rollers. This gives your hair time to recover and keeps its natural strength.
What Are Signs of Heat Damage?
Signs of heat damage include split ends, dullness, and hair that feels rough or “crunchy” even after conditioner. You may notice your curls don’t hold anymore, or your natural curl pattern looks loose, limp, or uneven. If you see these changes, lower your temperature settings, add more conditioning treatments, and book a trim to remove damaged ends.
Mastering a hair straightener is a gradual process that lets you get salon-style results at home. Along with learning new techniques, the “Healthy Hair Revolution” focuses on tools that put hair care first. By choosing high-quality irons with advanced mineral coatings and gentle vibration features, you’re styling in a way that supports your hair for the future too. The best hairstyle is one that looks shiny, full, and healthy, so pay attention to what your hair is telling you and treat it kindly every step of the way.
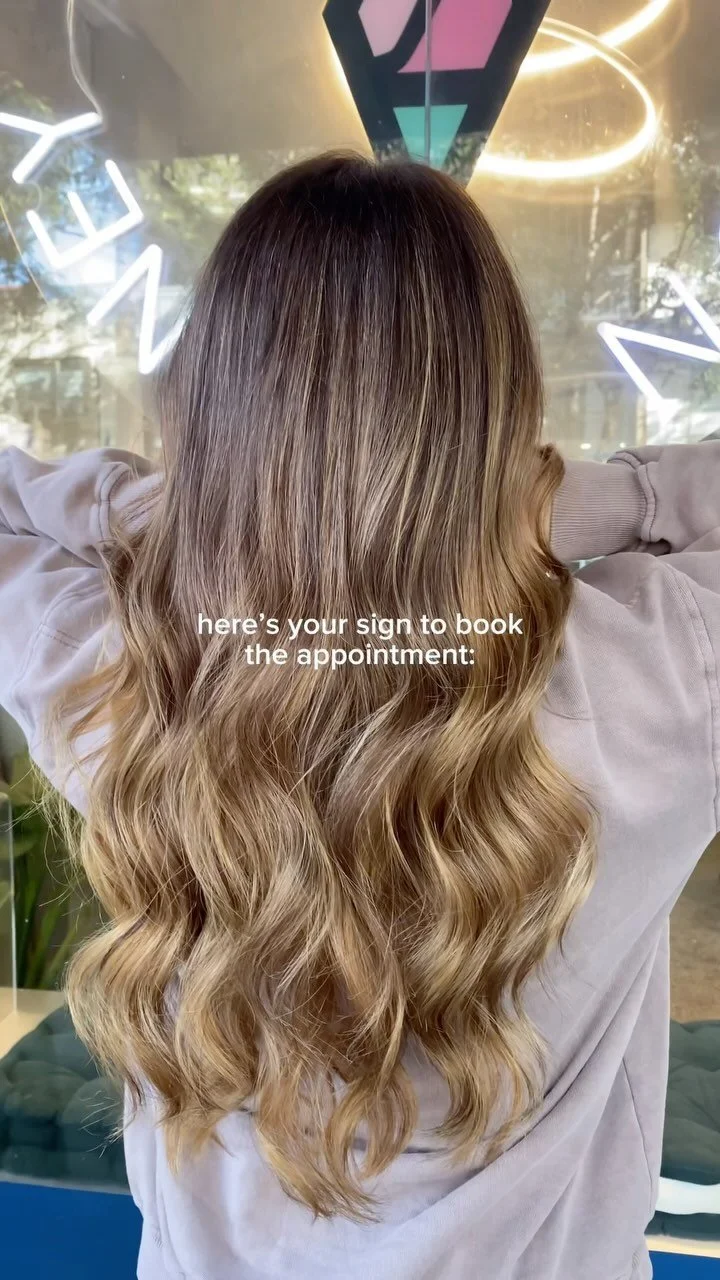
Do you live in Sydney?
Get the perfect look at our salon – schedule your appointment now!
Our Services
Check Out Our Instagram


Check out our instagram
Check out our instagram and see our latest posts!
Check out our facebook
Check out our facebook and see our latest
posts!